Top Menu

Archive | DIY

Taking off old 2-screw handles

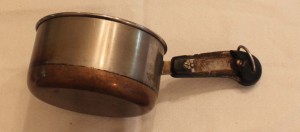
Sometimes, handles that have been in use for years can be very difficult to get off so you can replace them with new ones.  Frequently, screws and nuts will rust together, making them impossible to get apart (the nut simply spins).  Take this one for example.  Years of grease make even the handles reluctant to separate.

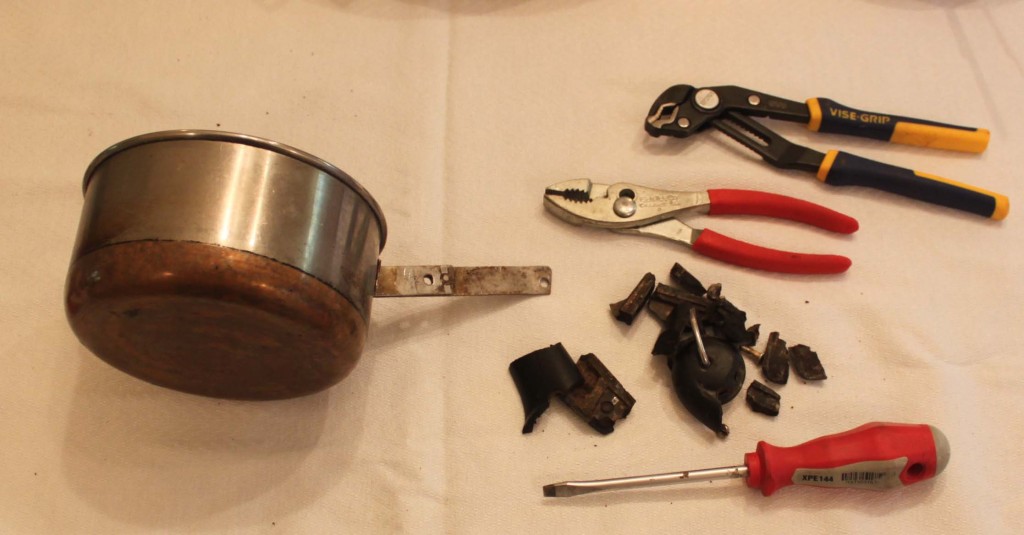
Unfortunately, in this case I had to break apart the handle to expose the screws so I could twist them apart, and the screws themselves broke off rather than unscrew.

In this case, I used a screwdriver to pry the handle halves apart until one of them broke off.  I tried prying the rest of the Bakelite off, but the handle spline started to deform.  So I placed the handle against a hard surface (concrete) and repeatedly hit it with a hammer until all the Bakelite was off.  Then I used two pairs of pliers to try to unscrew the screws, which broke off.

Sometimes it simply isn’t possible to save the old handle or hardware when removing them.

2

Handle repair options

We often get asked how to repair handles when the metal part that is attached to the pan body starts separating or has completely come off.  We aren’t aware of any services where you can send your cookware in to get repaired.

Brazing

The surest way is to find a local welder that can either spot weld (typically how they were usually attached in the first place) or braze the pieces back together.  Brazing is similar to soldering, where a metal filler is heated up such that it flows in the space between the two parts.  I’ve seen one estimate for $35 for repairing a handle in this way, which is more than the typical Revere Ware vintage piece is worth.  But for sentimental hand-me-down items, cost may not be an option.

I also investigated using an epoxy to repair a handle.  By all indications, on a gas stove, the cookware can reach very high temperatures, perhaps as high as 500 or more degrees.  JB Weld, a product well known for bonding metal together, does offer a high heat formula, but it is rated only up to 500 degrees.  Another product is stainless steel putty, which is rated food grade and is often used to repair stainless steel food processing equipment.  Unfortunately this is only rated to 250 degrees.

A third option is to drill small holes and use stainless steel hardware to reattach the handle.  This is perhaps the most unsightly option.

I recently came across this DIY option that involves the use of a propane torch and silver solder rods.

I’d love to hear if anyone has tried this method or has had success repairing broken handles any other way.

7

Vintage 4-quart pressure cooker over pressure plug

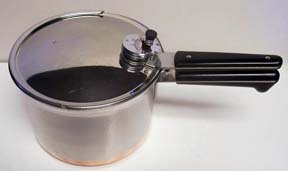
The Revere Ware vintage 4-quart pressure cooker, made during the 40’s and 50’s, is a great pressure cooker and we’ve sold quite a few replacement gaskets to people who want to keep them cooking decades more.

The biggest problem with these units is the lack of availability of over-pressure plugs in the lids.  These plugs are made with a hole through them filled with solder that will blow out at a certain pressure.  Once the over-pressure plug is blown, it is done and needs to be replaced with another.

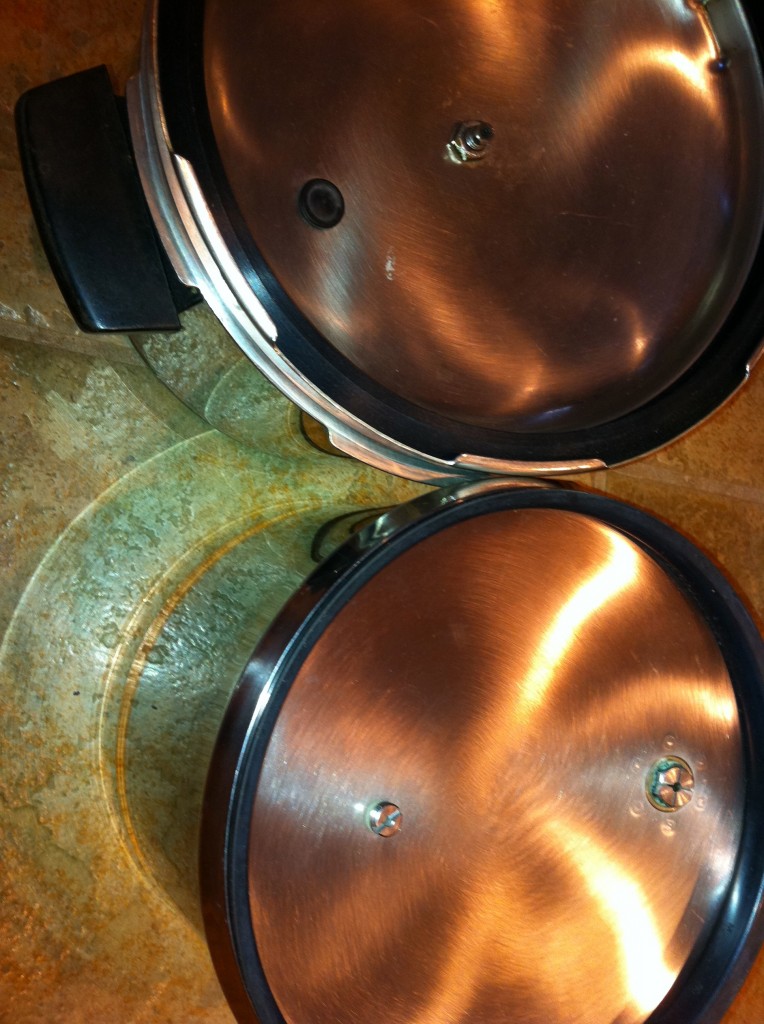
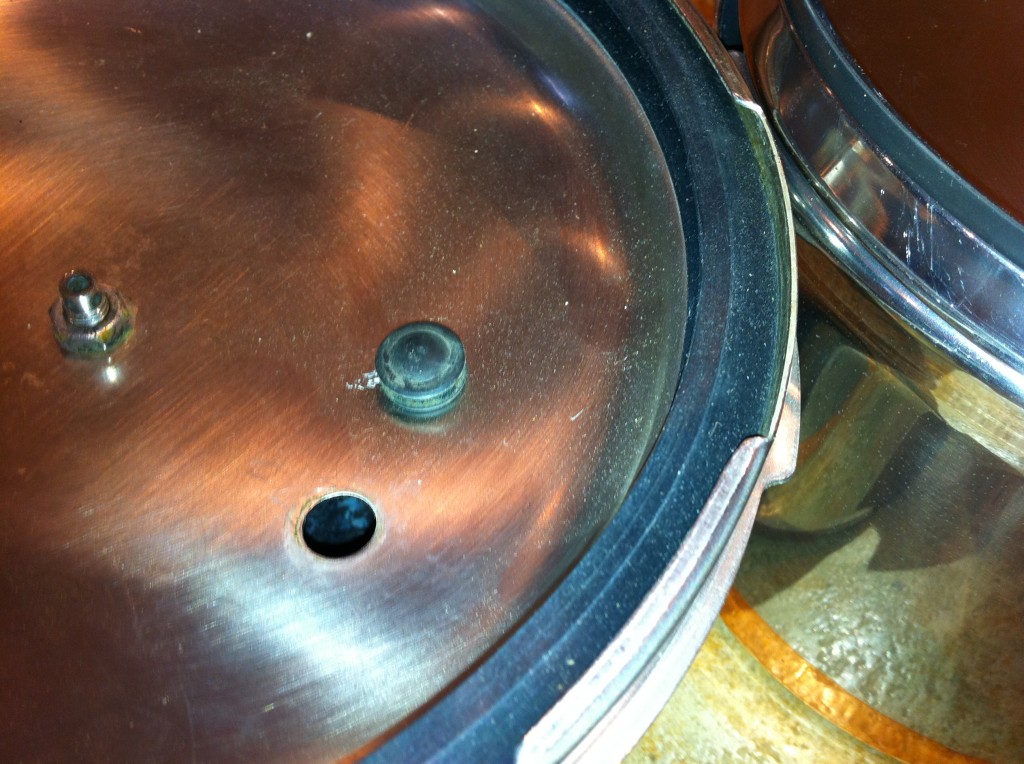
One possibility is to convert the pressure cooker to use an over pressure plug that is still available.  Specifically, Revere Ware’s model 1574 and 1576 pressure cookers use a simple rubber plug that fits in a 12mm hole in the lid.  These plugs are identical to Presto part 09915.

In theory, converting the vintage pressure cooker to use the new style plug should be easy – just drill out the hole for the current over pressure plug with a 12mm metal drill bit.  The vintage 4-quart pressure cooker has an operating pressure up to 15 lbs and the 157x models work up to 17.5 lbs.

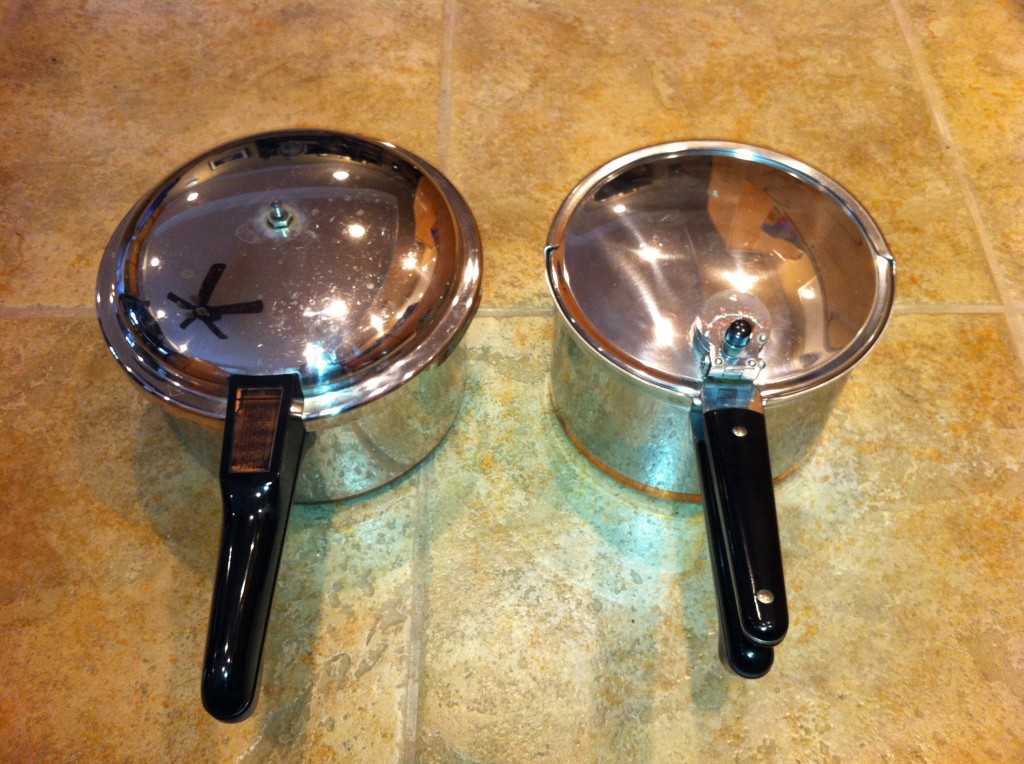
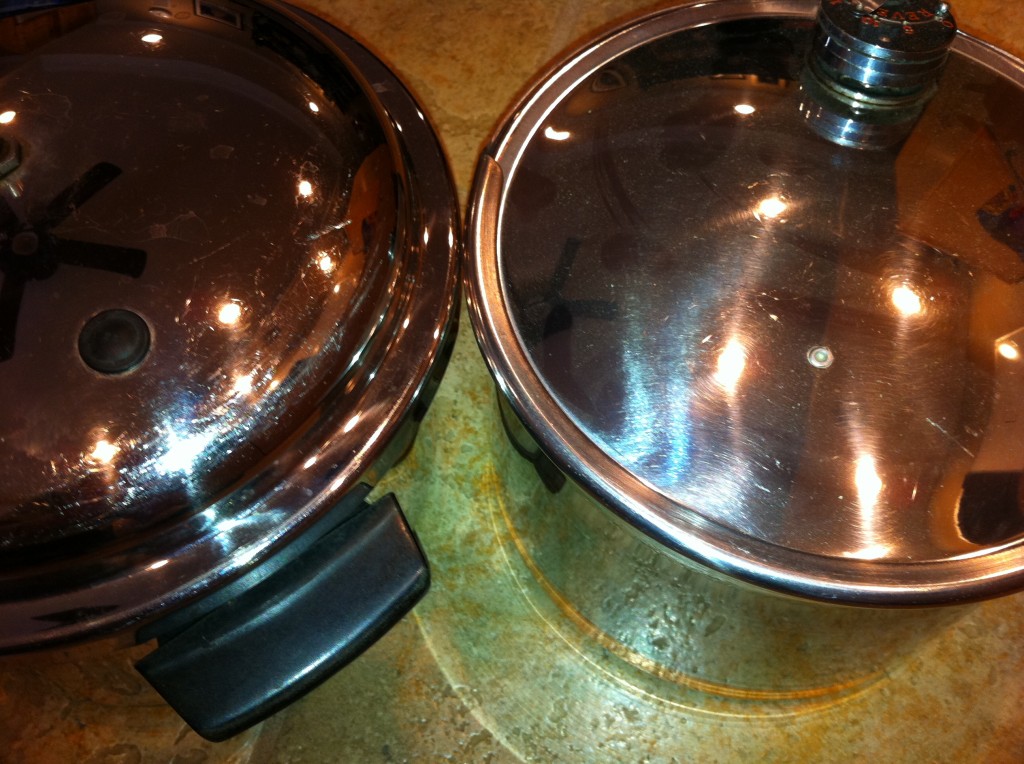
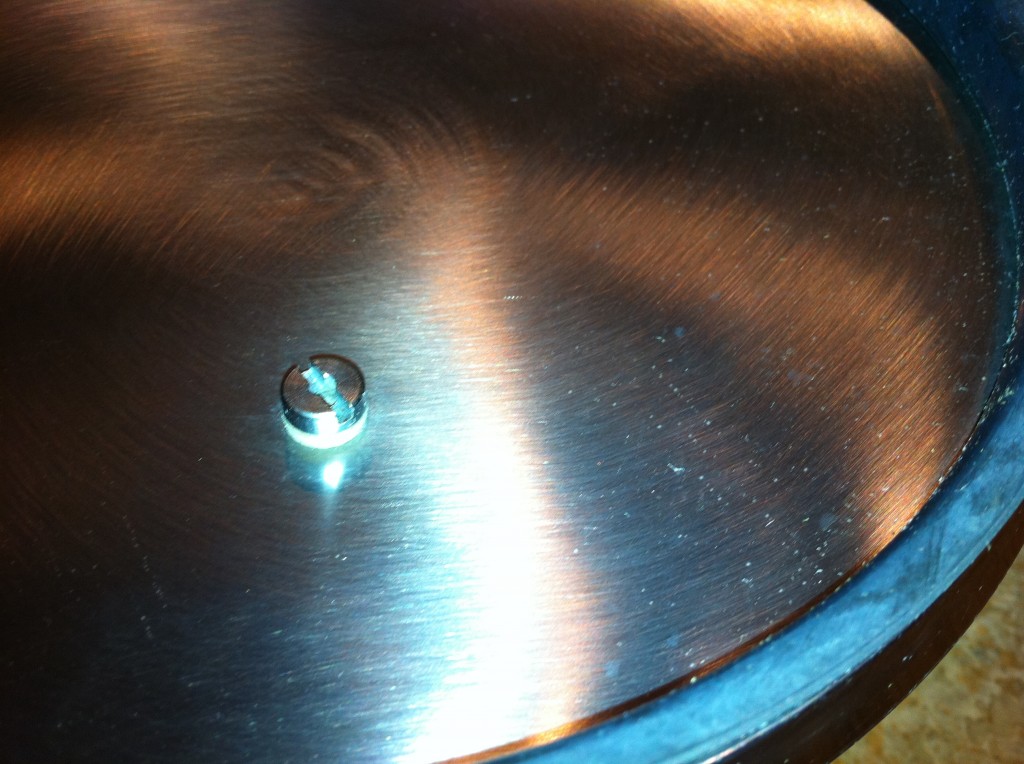
Below are some comparison pictures between the vintage 4-quart and the 1574.

If anyone is going to attempt this conversion, please send us pictures and let us know the outcome.

As with anything pressure cooker related, we advise that you use caution.

18