Top Menu

Archive | Repairs

Summary of options for handle separation repair

We continue to get requests for help with the problem of the metal handle spline separating from the body of a cookware piece, like this:

So we thought we’d summarize the best information we have on this problem in a single blog post.

Option 1: spot weld it back on

You can find out blog post on spot welding here.

When we talked to welders, they felt that the cookware metal was too thin for a good spot welding result.  But it has been done with success, so perhaps they were wrong.  It also might matter if your cookware is older, pre-1968, which has a thicker stainless steel, versus newer cookware, which can be quite thin.

Option 2: Braze it back on

You can find our blog post on brazing here.

Brazing is like soldering; heat up both pieces of metal and flow a melted metal wire between them to permanently attach them.

The results are not flattering, but it works.

Option 3: bolt it back on

You can find our blog post in screwing the handle back on here.

Perhaps the least aesthetically pleasing of the options, but the simplest.

12

Spot welding handle separation

Reader Brian was kind enough to fix a handle separation for a friend by spot welding the handle back on.

I just fixed a frying pan for a friend by spot welding. less then 2 minutes, back in business.
If the material on the pan fails, and holes are left in the pan, simply reattach like a puzzle piece
and put 8 new spot welds in 8 new places, there’s plenty of material.
Hope that helps.
I’ve fixed many pans and tea pots over the years by spot welding, with no problems.

We have been told that the stainless steel on the pans is too thin to spot weld reliably, but Brian has shown us otherwise.  The result, much like the brazing test we did, isn’t perfect, but it is functional.  Thanks Brian!

Here is the original broken handle:

And the repaired handle:

2

Stuck at home? Now is a good time to refurbish your Revere Ware

If you are stuck under home quarantine like us, perhaps now is a good time to refurbish your vintage Revere Ware.  Here are some tips.

New Parts

We’ve got you covered there.

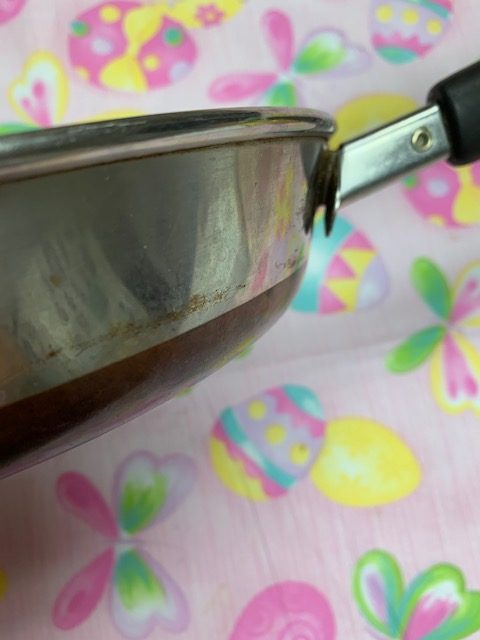
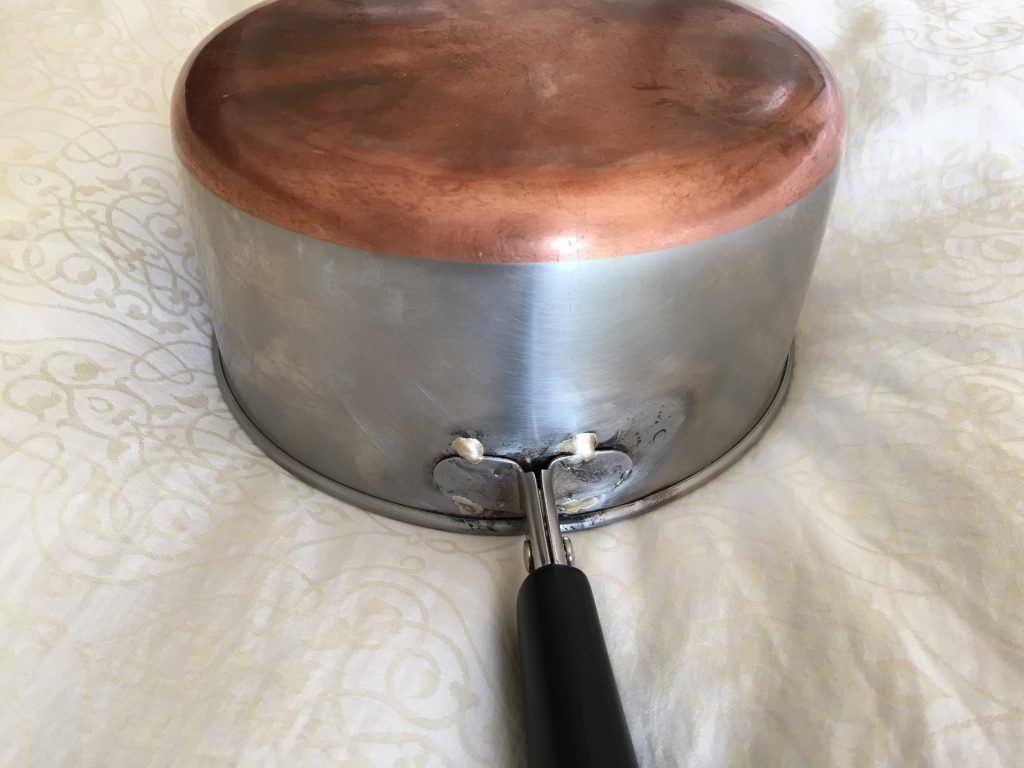
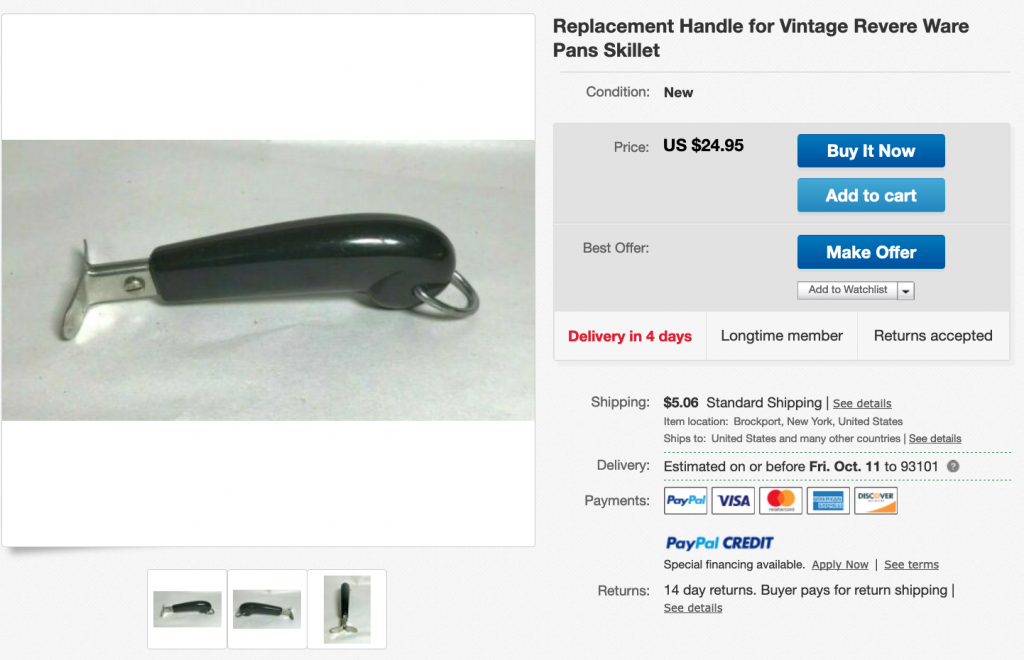
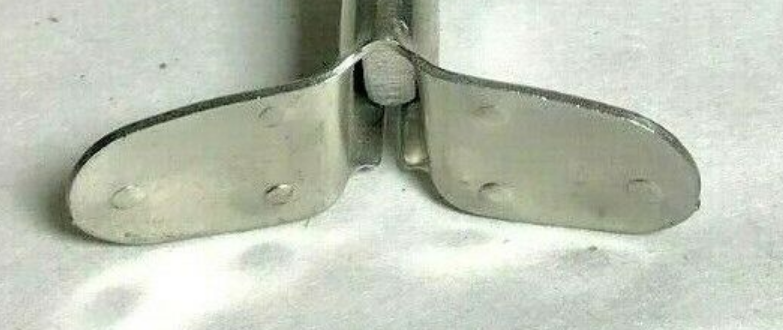
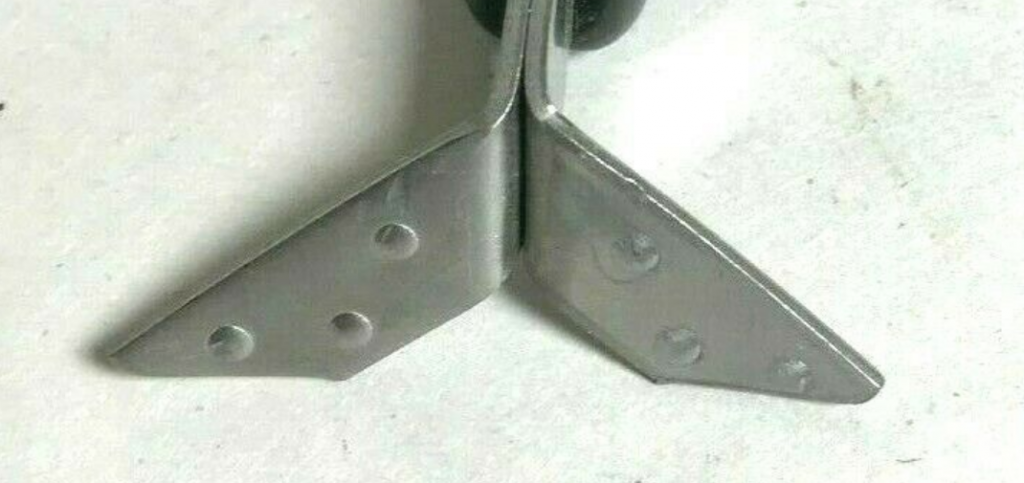
For your vintage skillets and sauce pans that have handles with two screws through the Bakelite part we carry handles and hardware, and lid knobs.  And here is our sizing sheet that helps you find the right size.

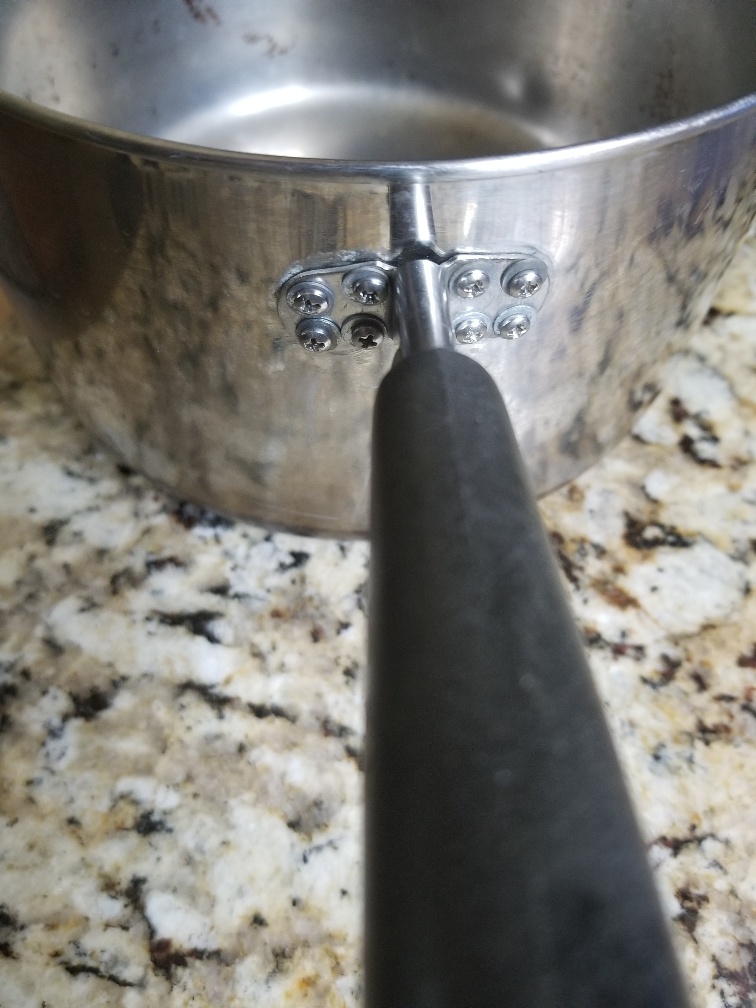
For your post-1968 skillets and sauce pans that have handles with a single screw through the metal part, we carry handles and hardware, and lid knobs.  And here is our sizing sheet that helps you find the right size.

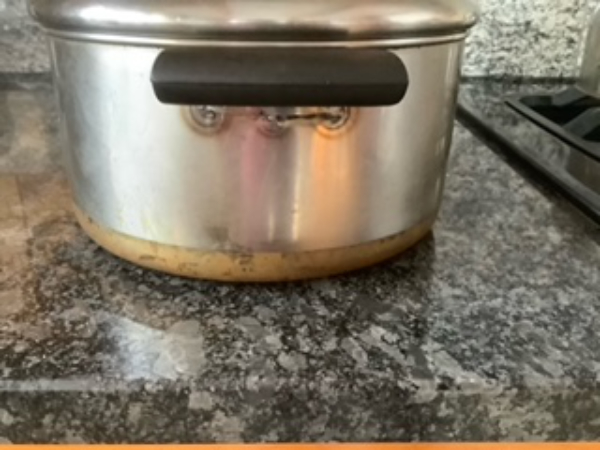
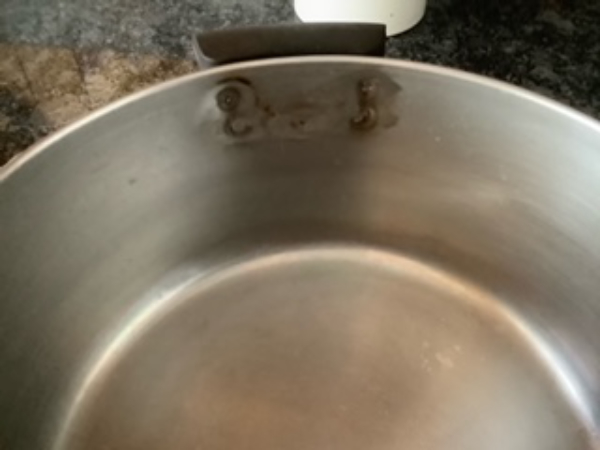
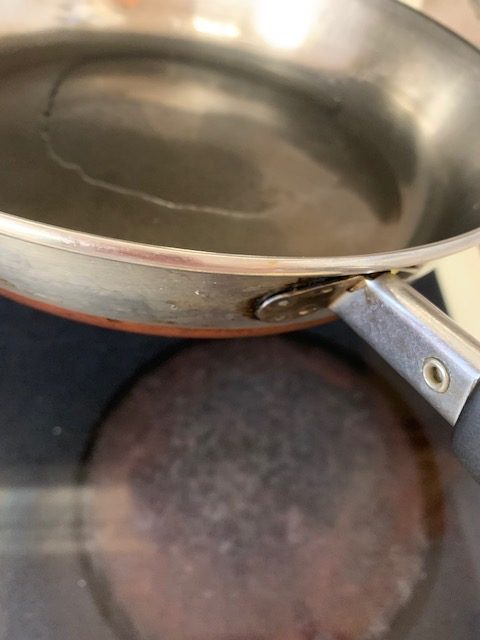
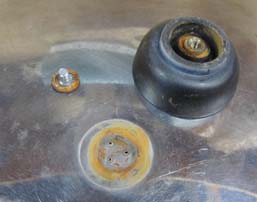
For your pots and Dutch ovens, we carry handles and lid knobs.

For your vintage 4 quart, and model 1574 and 1576 pressure cookers, we carry gaskets.

For your percolators, we carry replacement glass tops.

For your 2 1/3 quart kettles, we carry handles, triggers, and caps.   Not sure what size your kettle is?  Use our kettle identifier.

Our fulfillment warehouse and our Amazon.com stock are both complete right now and will be for the duration.

Cleaning

Here is our handy cleaning guide.  That will help you get years of gunk off and polish it to a shine.

Quick summary:

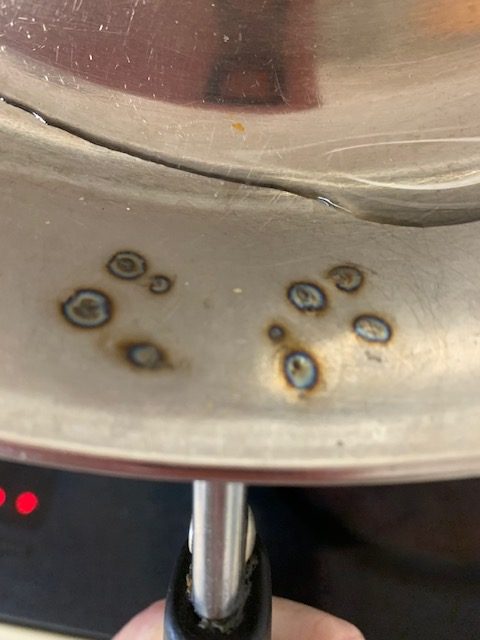
For burnt on gunk on the inside of a pan, use automatic powdered dishwasher detergent and vinegar, and bring it to a boil. Then scrap off the gunk with a flat metal spatula.

For gunk on the outside, submerge the entire piece into a large pot with a lot of baking soda in it and bring to a boil.  Then work off the gunk with repeated scraping and scrubbing and immersion in the boiling baking soda mixture.

To clean the inside of a cookware piece well, use a green Scotch Brite pad.

To clean the outside of a piece to a nice shine, use Bar Keepers Friend.

Repairs

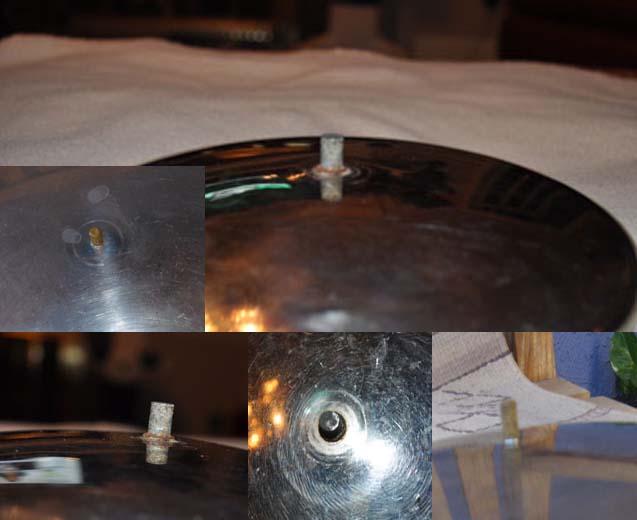
Have a nub instead of a screw on your lid?  Here is our guide for that.

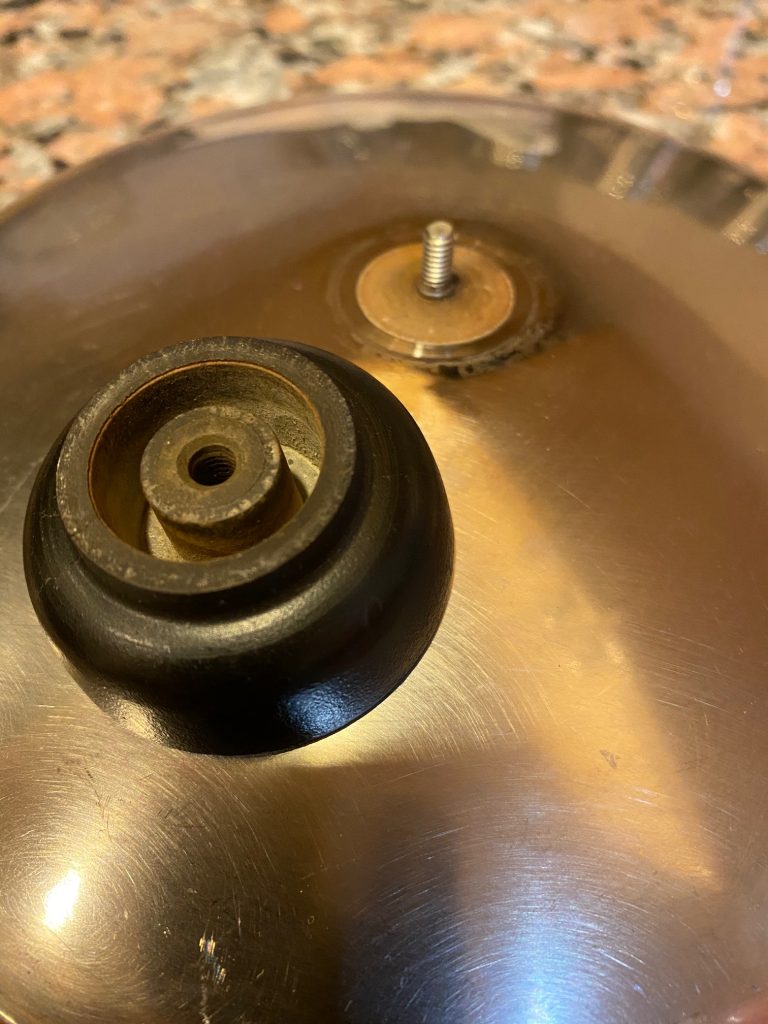
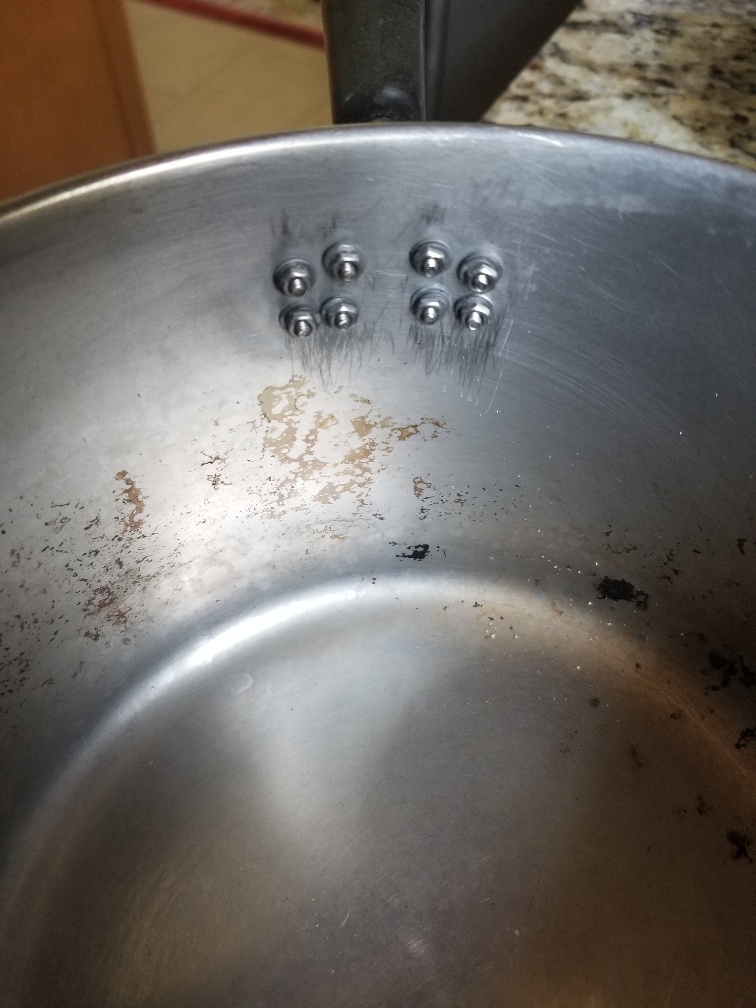
Did your lid knob screw come off?  Here is our guide for that.

Information

Want to learn more about the history of Revere Ware?  Now is a good time to read up with our basic history of Revere Ware Cookware, our detailed history of the Revere company, or our photo guide to Revere Ware products.

Enjoy!

1

Lid knobs with stripped threads

Over the years Revere Ware used different thread inserts for the lid knobs, including aluminum and brass.  But at some point they also skipped the nut insert and use molded the threads into the Bakelite itself.  Reader Jessica contacted us with one of these.

As you might imagine, Bakelite isn’t nearly as durable as metal threads.  But hey, they will never rust. 🙂

The symptom of course is that the threads will strip eventually, and the knob won’t stay on.  You can replace it with a new one (from us of course), but there is a chance you can repair it.  You can try using some high temperature Teflon tape to allow the knob to screw on tighter, or, if that doesn’t work and you are desperate, some high temperature JB Weld.  However, the JB Weld solution will likely be a permanent one, as you may never be able to unscrew the knob again, and trying to do so might snap off the lid screw.

0

Removing a stuck on knob

It is very common for there to be issues when removing a knob from a Revere Ware lid.  In some cases, the knob itself is solid, but is simply stuck (rusted) onto the lid screw.  Trying to unscrew it can risk pulling the screw right off the lid, as the rust sometimes gets under the weld plate of the screw.  Take a look at this picture from our guide on what to do when this happens:

You can see how there is some rust under the screw weld plate (on the lid) and around the weld plate itself.

And sometimes, the Bakelite deteriorates from water and gunk getting up under the knob for prolonged periods, and when you twist the knob to get it off, you are left with a Bakelite covered nub that is the nut insert that was inside the knob.  That looks like this:

Blog reader Rick offers this excellent suggestion for removing a stuck on knob or nut insert:

I’ve found a method to remove the knob from the lid if it appears that it will twist off the weld stud because of corrosion between the stud and knob insert. I’d say that if the corrosion has reached this point, the knob needs replacing anyway, but beware that this method sacrifices the knob. If the knob has already broken away from the insert, and the threads in the insert are too corroded to remove from the stud, you can to to step 2.

1) Using a hacksaw, carefully cut right down the center of the knob until you reach the insert. Do a second cut at right angles to the first. Using two flat bladed screw drivers at opposite sides of a cut line, pry the knob and it will crack and fall away from the insert. Not very much pressure is required.

2) Again with the hacksaw, carefully cut a slot in the center of the insert until you reach a void spot in the center of the insert. The void is there because the stud does not go all the way to the end of the threaded portion of the insert. Spray or drip in some penetrating oil, and let sit for a few hours. Try removing the insert with a pair of vice grips. This has worked perfectly a number of times for me.


0

Strange replacement handles

It doesn’t happen all that often, but sometimes the spot welds where the “wings” of the metal handle spline connect to the pot do fail, and the entire handle falls off.  Given these two auctions I found on eBay, I guessed that is what happened.

However, looking at the close-ups of the ends of the metal splines, these don’t appear to have every been welded onto a pot.  And the Bakelite part of the handles appears brand new.

It’s interesting that there is an extra bulge right where I presume the spot welds would be placed, perhaps as sacrificial material given that the welding process likely vaporizes some of the stainless steel.

I have no idea what the provenance of these replacement parts is, but they are likely not that useful as a full spline + handle replacement.  As our tests have shown, it is pretty hard to weld the handles back on with traditional arc welding equipment, as it wants to burn a hole through the relatively thin pot / pan walls, and brazing the handles back on isn’t an entirely aesthetically pleasing solution.

It is likely that they had a special spot-welding system in the factory for this, that you don’t typically find in a weld or machine shop.

My guess is that these were brought home by someone that worked in the relatively nearby Rome NY Revere Ware factory.

It’s close enough that this seems plausible.


0

Handle separation – another option

We did a post last year about repairing handles that separate from the pot.  The results were not great; the metal is too thin for arc welding, and brazing worked, but the appearance was marginal.

Reader Daniel took a much simpler approach to repairing his sauce pan:

I drilled out the eight old attach spots with a 7/64 bit, reattached the handle with 1/4″L No. 3 stainless pan head machine screws, flat washers, lock washers and nuts. 3/16″ L may also work. Works better than new! Don’t throw them away; fix them!

Here are some pictures of the result.  I like it; it is simple and works.


2

No more Revere Ware warranty replacement

With the silent shuttering of the Revere Ware brand last year, all traces of Revere Ware have been removed from the website of Corelle, the parent company that owns the Revere Ware brand.  You can still try contacting them for warranty issues, but we aren’t hopeful. We’ve heard from some customers that have been told by Corelle that they no longer provide warranty support of any kind for Revere Ware products.

If you do contact them, you might point out that the Revere Ware warranty is still posted on their website (which can be found only through Google as far as we can tell).  Perhaps that will convince them to give you something for your troubles.

45