Top Menu

Archive | 2011

Prices, then and now

I recently came across a Revere Ware replacement parts order form from 1950.  I’ve often wondered how our prices compare with what Revere Ware charged for parts back in the Revere Ware heyday, and this price list gave me a good opportunity to compare 1950 prices + inflation with our prices today.

Pan handles were $0.60 for the handle, hardware set, and hanging hook.  The official government inflation statistics (consumer price index) since 1950 peg todays prices at 9.09 times prices in 1950, which mean a replacement handle in 1950 cost $5.45 in 2010 dollars.  We sell them for $9.99.  Given that Revere Ware was a huge company that produced millions of parts per year, it isn’t surprising that they could sell them for less than we do.

But for other parts, the disparity is considerably less:

Replacement gaskets for the vintage 4 quart pressure cookers were $0.75 in 1950, or $6.82 in 2010 dollars.  We sell them for $9.99.

Lid knobs were $0.25 in 1950 or $2.27 in 2010 dollars.  We sell them for $2.99.

Hardware sets were $0.35 in 1950 or $3.18 in 2010 dollars.  We sell them for $2.99.

Not a bad deal.

0

Why isn’t there a screw for the knob on my lid?

One of the most common questions we get from customers is related to their lid not having a screw, but what appears to be a stub of some kind.

Over the years, as evidenced by the many differently constructed lid knobs we have come across, Revere Ware has used no threaded insert in the lid knobs (threads are part of the Bakelite) and threaded inserts of various types of metal, such as aluminum, brass, and possibly others.

The problem is that after years and years of use, the metal inserts often rust to the screw on the lid knob and the knob will either disintegrate when you try and take it off, will fall off leaving the insert behind, or when you try to unscrew it, the insert will stay attached to the screw. What is left looks like this:

The stub can also appear black as there might be Bakelite attached to it.

Some customers inherited a lid looking like this and others just assume that the knob is glued on to this stub and when they receive ours, with a threaded insert, think they’ve received the wrong kind of knob.

If you grab the insert with pliers and unscrew it, it will usually come right off, revealing the screw.  If the nut insert doesn’t want to budge, try squirting some WD-40 at the crack where the nut comes close to the lid and letting it sit for a while.  Heating the lid slightly at the point of the knob screw from underneath (such as placing it over a low gas flame) might also help loosen a stubborn nut and screw.

In some cases, perhaps one out of four, the rust bond will be too strong and the screw will break off.  If that happens, here are instructions for attaching your knob with a separate screw.

Update:  Reader Rick posted this helpful suggestion (below):

If the knob has already broken away from the insert, and the threads in the insert are too corroded to remove from the stud, you can to to step 2.

1) Using a hacksaw, carefully cut right down the center of the knob until you reach the insert. Do a second cut at right angles to the first. Using two flat bladed screw drivers at opposite sides of a cut line, pry the knob and it will crack and fall away from the insert. Not very much pressure is required.

2) Again with the hacksaw, carefully cut a slot in the center of the insert until you reach a void spot in the center of the insert. The void is there because the stud does not go all the way to the end of the threaded portion of the insert. Spray or drip in some penetrating oil, and let sit for a few hours. Try removing the insert with a pair of vice grips. This has worked perfectly a number of times for me.

Reader Fred posted a picture of his nut insert after using the hack saw.

14

Revere pressure cooker DIY

When parts for your favorite piece of cookware are no longer available, sometimes a little do-it-yourself repairs are necessary.

Problem:  The first few years of the vintage Revere Ware pressure cooker had a gauge rather than a dial.  At the bottom of the gauge sits a gasket, which over decades of use and life, gets dry and brittle and stops working, allowing steam to escape, which provides a false reading on the gauge lower than it should.

Solution:  Making a new gasket from some high temperature silicone rubber.

This problem was brought to my attention by a customer who had the problem, and when I opened up my pressure gauge, sure enough, my gasket was beyond repair as well.

I was able to find some suitable material in the form of a silicone baking sheet, which sounded promising as it was specifically intended for high temperatures and was a food grade silicone.  While the original gasket measured about 3-4/100th of an inch, the silicone baking sheet came in at 6/100th of an inch, a difference I hoped wouldn’t matter.

The original gasket was pretty well attached to the metal, but I was easily able to scrape it off with 1/2 of a pair of wooden chopsticks, a soft material so as not to scratch the metal surface and create grooves that might break the seal.

To form the gasket, I pressed down on the silicone sheet with the top of the gauge, which left a nice mark and cut it out with scissors.  I used an apple corer to cut out a hole on the inside.  To create the holes, I sandwiched the gasket between the gauge and the bottom plate and marked them with a small screw driver, and then opened them up with a drill bit.

As you can see, it is crudely shaped, but a good enough fit to make a seal.

The drill bit left imperfectly small holes that were a bit hard to get the screws through, so to put on the gasket, I first laid it on the bottom plate and threaded the screws through, and then placed the top piece on and screwed them down.

While the gasket is slightly thicker than the original, the screws were easily long enough to hold tight.

A quick pressure test showed the gasket to hold without any problems.

Customer John took a slightly different approach, and went to a shop called Great Western Seal & Gasket (didn’t know places like this existed) and had them punch a suitable gasket out of appropriately sized silicone rubber and then bought a small punch from them to create the screw holes.  I’m sure his looks much prettier than mine, but they both work fine.

0

Vacation

Our shipping will be closed for vacation from Friday, January 14th, through Sunday, January 23rd.  Any orders placed after 12 noon on Thursday, January 13th will not ship until Monday January 24th.

You can still place orders during that time, but shipment will be delayed.

0

Extreme Revere Ware handle repair

Here is a project sent to us by a customer.  He was determined to fix a friends favorite sauce pan that had been without a handle for 20 years.  The problem was not only that the particular style of handle (the type used in the first few years of production) was not available, but that most of the metal that the handle attaches to had broken off.  This just goes to show that perhaps NO piece of cookware is beyond repair to the truly determined.

We have documented a simple if imperfect adaptation of the vintage style handle we DO sell to the early production pans, but for those looking for a better solution, this project should be inspiration; it is clearly possible to modify the spline that the handle attaches to to fit the “newer” vintage style handles we DO sell.

Thanks to Jim for documenting this project and sending it to us.

Sauce Pan Handle Project

This project involved putting a “Large” sauce pan handle on a “broken” handle stub of an early model Revere Ware 7” sauce pan.
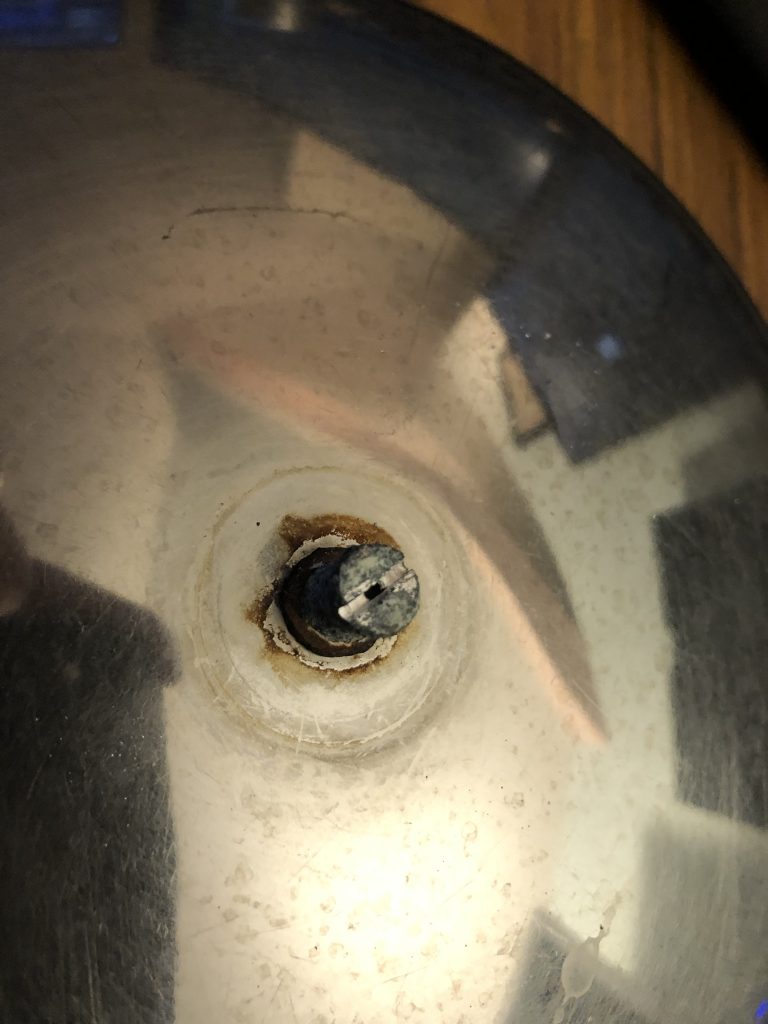
The Problem :

Before: This “early” model sauce pan had a broken handle bracket.

After: Welding  approx. 3” of  ¾” x.065” stainless steel strip to the handle .

This is the finished handle fix –

Note:  The original -early model- right tab was wider than ¾” and had to be ground away to match the ¾” wide stainless strip added to fit the ¾” wide handle niches.

Note:  The dimensional detail of the added piece was accomplished by creating a piece of  light cardboard that fit the handle recesses and then transferring that to a thing piece of sheet metal and from that, it was transferred to the stainless piece for the handle. .

Left Side Detail:

Left Side A. The Left Side tab was basically unchanged.  However, we did weld the left tab to the new handle material for the purpose of strengthening the entire handle system.

Left Side B.   Blue Tape indicates the area of bakelight removal in the handle halves.

Note:  The black marker over the original strengthening rib where the handle is attached to the pan.  This rib interfered with the handle and therefore required some relieving of the handle with a Dremel tool to get clearance and allow the seam of the handle halves to mate up without a crack between them. (  See Blue Tape – Above  )

Left Side C.

Also the left side handle had to be relieved ( notice the semi-circle of blue tape ) and some of the handle cut away where the Tab was welded to the new handle material.

( See Blue Tape – Above  )

Right Side A.

The right side tab of the handle required the Tab be ground away so it was only ¾” wide to match both the new handle extension width and the bakelite handle niche.  Also bakelite had to be removed at the front of the handle where the strengthening rib interfered with the handle fitting flush to the tab.

( See Blue Tape — Above )

Right Side A.

This piece of .040” thick  x  ¾” wide  thick sheet metal was cut to fit the handle and used as a pattern for the shearing of the stainless piece that was .065″.

The stainless piece was then welded to the handle and ground flush.  Then the hole for the hanging ring was drilled after the handles were mounted and fitting well. The result is below.   ( The black line being the weld joint area. )

The Finished Pan….

The project was not all that involved and went quite smoothly.   Sheet metal snips, Dremel tool,  bench grinder, files, dial calipers, vice  and drill were the home shop tools involved.  I did take the stainless strip to a metal shop for shearing and welding.

2